1- Ice Fishing

Materials: Bucket, ice cubes, strings, salt and water
I guess when it comes to ice, this is the most popular activity and easiest one to do, too! Let’s start fishing at the comfort of your home and without any fishing rods. Fill the bucket half with ice cubes (use small bucket) and fill it with water. Put a few strings in and sprinkle some salt in the bucket. Let’s wait for 60 seconds. Tik tok tik tok… Now’s the time to harvest our fishing strings. Pull it out slowly and there you go!
You will see you successfully fish some ice cubes out from the bucket. Congratulations. Maybe now you can go out for fishing in the lakes or any rivers nearby your housing area.
Image Credit: https://1.bp.blogspot.com/ Gue3PnLaVrM/WPCoF_t_1kI/AAAAAAAAFNg/ZhrWAJKfqmUd1tkmCI9VWPCreMyIxwQJgCEw/s1600/exp2.png
2- Rainbow Melting

Image Credit: https://www.powerfulmothering.com/wp-content/uploads/2015/03/color-salt-on-ice-1.jpg
Materials: Big Block of ice, Salt, Small Bowls, Colour Gels / Water Colour
If you have run out of fun science activities at home, time to go out and get a big block of ice. Why? Because you and your children are about to see rainbow melting. Have you seen that anywhere? Of course not!
Put the big block of ice in a pan that fits. Mix the water colour with salt in the bowls, different colours that rainbows have such as blue, indigo, red, yellow and green. Then, spread the colours on the ice block. Wait for a minute. Can your children hear the crackling sound from the ice block? Yes, the salt melts the ice block. That is why during winter, people use salt to melts the ice on the roads, so they are safe to walk on it. When the ice block melts, wonderful colours are formed! Awesome, isn’t it?
Wait for an hour or so to see beautiful result!
3- Ice Balloon
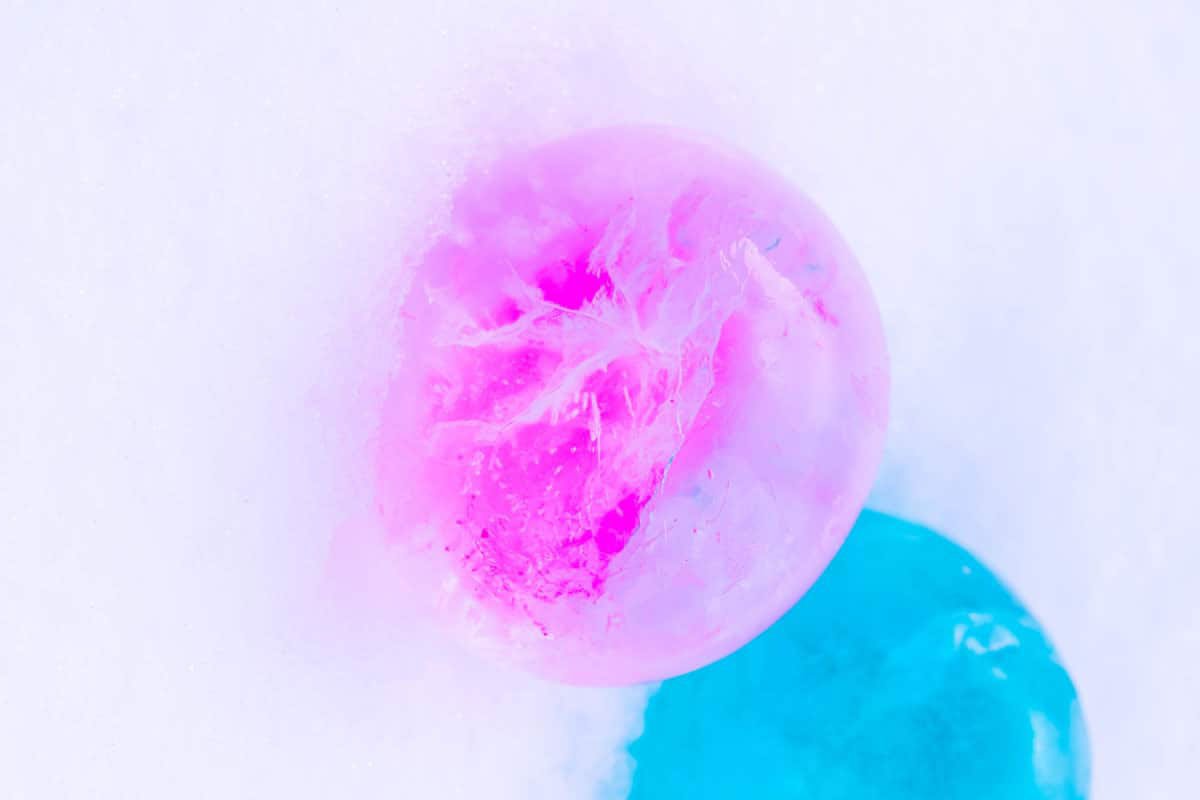
Image Credit: https://eatingrichly.com/wp-content/uploads/2019/02/snow-ice-balls-02503-800×1200.jpg
Materials: Water, Balloon, Freezer, Salt, Food colouring
To have fun with this activity, you need to do 2-days of preparation. First, prepare balloons, as many as you need and fill them with water. Now, put these balloons in the freezer for 2 days. (Make sure you have enough space in your freezer)
After 2 days, take out all the balloons and cut and peel the balloons out from the frozen balloon. Do not hit anyone with the ice balloon, trust me, this will hurt! Spread some salt on the ice balloon and pour a few drops food colouring on the salt. Now, you will see the breaking of the ice as the food colouring follows the line of the melting.
Here’s an idea. If you want to have colourful ice balloons, pour the colouring when you are filling water in the balloon before putting all the balloons in the freezer. These ice balloons are fun science experiment to teach your children about state of matters and density, too!
4- Dry Ice Volcano
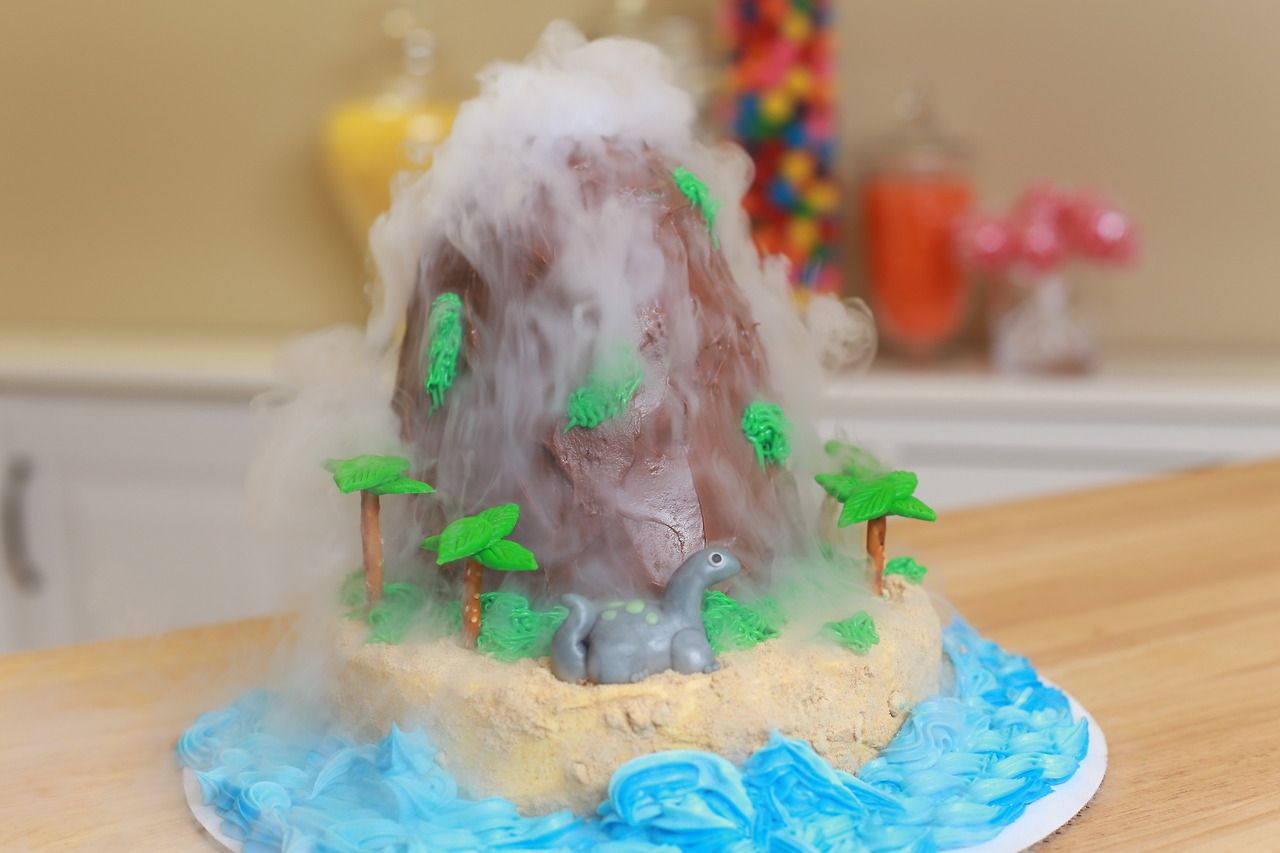
Image Credit: https://i.pinimg.com/originals/c3/60/61/c36061356af541c5ea13ab0c65cc6c01.jpg
Materials: Dry Ice, Hot Water, Volcano Model, Tongs, Cup, Adult Supervision
Do you know that dry ice is solid carbon dioxide? Yes, that is what makes it so dangerous if not properly handle. First, you need to make a volcano model from anything that you have around you. Bottles, glasses, volcano model you get from the STEM kits that you have, use it! Now, put a glass or bottle inside the volcano model and with tongs, put the dry ice in the volcano model, in the glass or bottle that you put inside it just now. Slowly, pour hot water and watch as steam blowing out from your volcano. Let’s assume that this is a nearly erupted volcano, shall we?
When your children pour the hot water on the dry ice, the solid carbon dioxide becomes the gas carbon dioxide. Another must-do fun science experiment here, isn’t it?
5- Instant Ice

Image Credit: https://i.pinimg.com/originals/56/eb/32/56eb32f1118e0784f66e5045d6bdb707.png
Materials: Plastic Water Bottles, Ice Cubes, Freezer, Salt, Glass Bowl, Tray
This simple and fun science experiment requires easy and simple materials will give a BOOM impact and experience for your children. That is for sure! Let’s learn about nucleation, shall we?
Put the water bottle in the freezer for 2 to 3 hours by laying it on its side. Check the bottle after 2 hours and make sure the water is not frozen, you will see crystals formed on the wall of the plastic bottle. Remember the tray that you need just now? Yes, we will use that to avoid messy water and flood your kitchen with ice water. Put the tray and put the glass bowl upside down on the tray. Then, put a few ice cubes on the bowl and start pouring the water out from the mineral bottle slowly. Amazing, right?
Try it on your own to see what happens next!
6- Fizzing Ice

Image Credit: https://toddleratplay.com/wp-content/uploads/2018/09/Snapseed-9-1.jpg
Materials: Baking Soda, Vinegar, Dishwashing Liquid, Ice Cubes, Colouring
Baking soda and vinegar experiment, that’s a classic fun science experiment we have. Let’s have a twist for this experiment, by adding ice cubes. Get a container of ice cubes and put baking soda and dishwashing soap on the ice cubes. Then, by using dropper or pipettes, drop vinegar on the ice cubes until it becomes fizzing.
As usual, baking soda and vinegar produce carbon dioxide, so do this experiment. Don’t worry about the acids, feel free to let your children touch or dip their fingers in the fizzing ice! Do not forget to use colouring.
7- Homemade Ice Cream
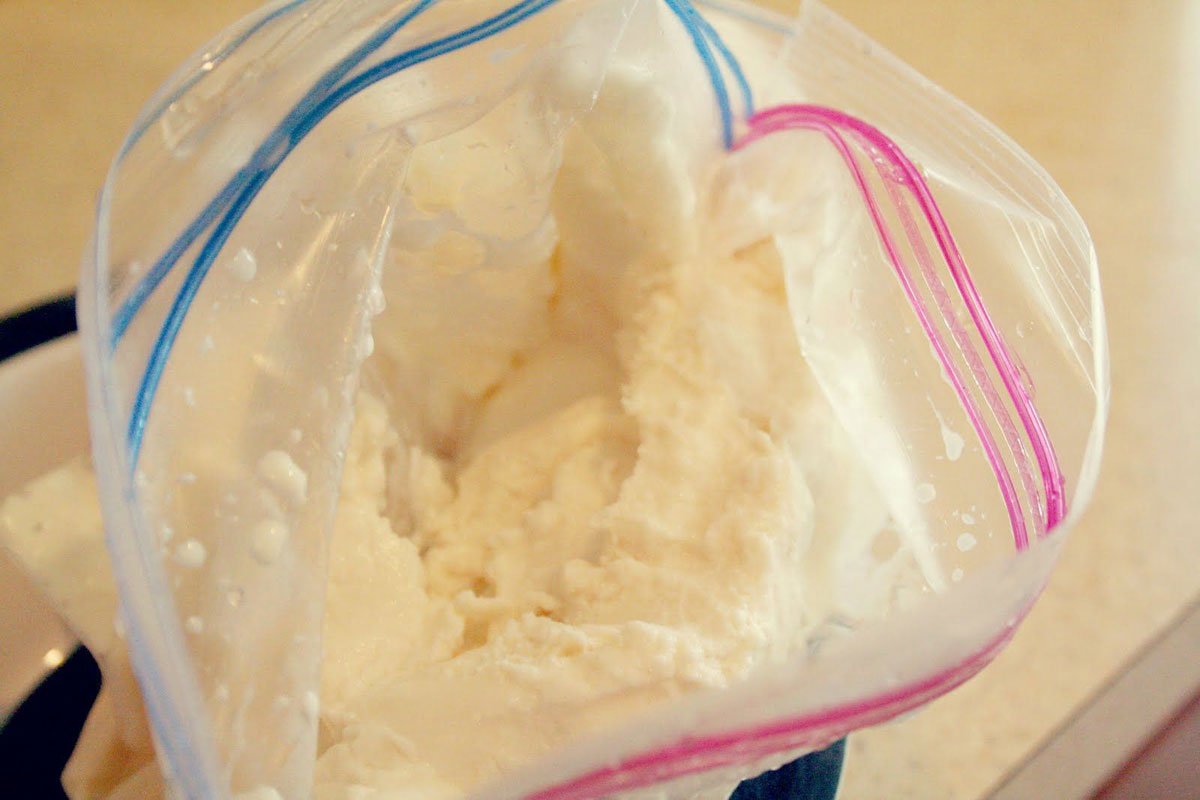
Image Credit: https://i.pinimg.com/originals/f0/e9/40/f0e940d77e904db2c177fadbb8b3df5a.jpg
Materials: Ice cubes, Milk, Sugar, Zip lock bags, Salt (small and bigger size)
Who said that we cannot do fun science experiment related with ice that is edible? Of course, we can! This is where we can do homemade ice cream! Pour everything in the smaller bag except for the ice and salt. Then, put the ice cubes in the bigger zip lock bag and sprinkle with salt. Put the smaller bag in the bigger bag and shake it, shake it! Shake until the milk becomes ice cream.
If you use strawberry milk, you will get strawberry ice cream. So, make sure you get flavoured milk if you like flavoured ice cream. This experiment can enhance your children’s fine motor skills and have fun learning Science (indirectly).
If you have ice cream cone, put the ice cream on it and enjoy!
8- Glow in the Dark Ice

Image Credit: https://i.pinimg.com/originals/49/72/0d/49720d72d3a287ecd59c5d5a77e1f282.jpg
Materials: Tonic Water, Edible Glow in the Dark Colour, Ice Trays, Freezer
Are you having a party with glow in the dark theme? This might be the one that you need to make your party perfect as your children imagined it! Now, now, can ice cubes glow?
With a little bit of fun science sprinkles on the ice cubes, it is possible. Pour the tonic water in a jug and mix it with the edible glow in the dark colour. Now, freeze it! When it comes to ice cubes, the waiting game is a must.
After it is frozen, bring it out from the tray and turn off the lights! Glowing things will always WOW your children, no matter what they are! And parents, if you don’t have tonic water, use water, it is allowed and not illegal!
9- Hot Ice
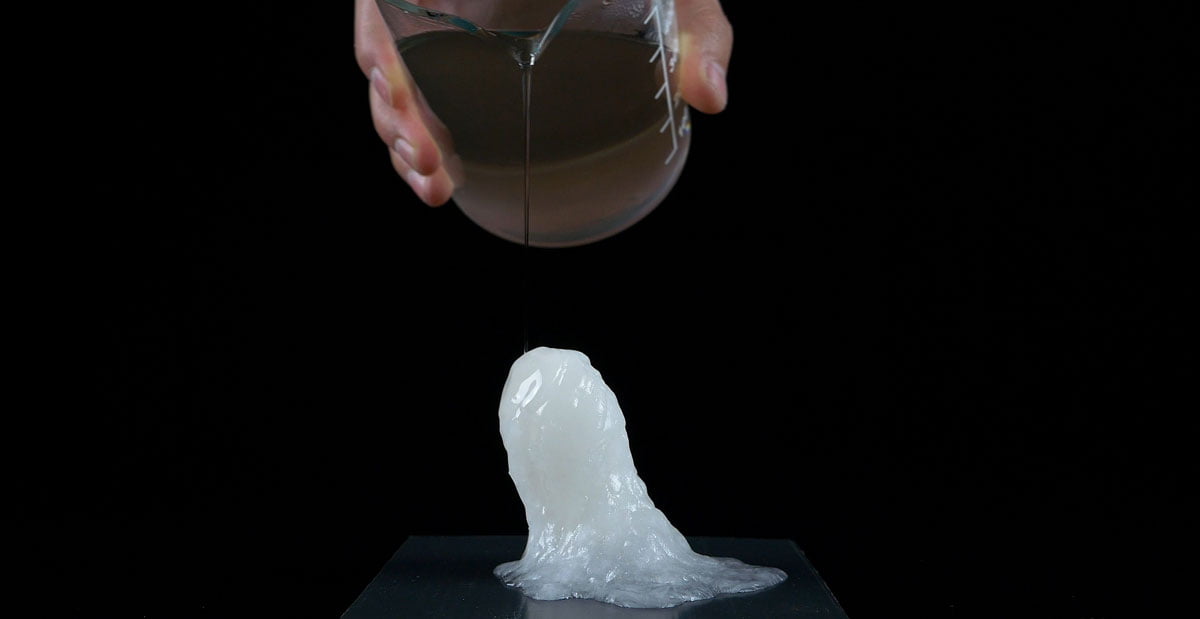
Image Credit: https://home-science.com/wp-content/uploads/2016/10/hot-ice-how-to-make.jpg
Materials: Baking Soda, Vinegar, Tray, Spoon, Hot Water, Freezer, Pot
Here we are with more baking soda and vinegar. Mix baking soda and the vinegar until the mixture stops fizzing, you will get SODIUM ACETATE. Then, heat the mixture for 1 hour long with medium fire, it is okay if your solution turns to yellowish colour. It will not affect the experiment. Once the solution has reduced to 60%, transfer it to a jug and put it in the freezer for 30 minutes to cool the solution. If you can see dried sodium acetate at the side of hot pot, scrape it off and put it on the tray.
Now, when the solution cools down, ask your little ones to predict what will happen if you pour the solution on the dried sodium acetate just now? Trust me, it will be like a magic show for your children! This fun science experiment maybe will WOW not just your children, but maybe you too!
10- Ice Digging
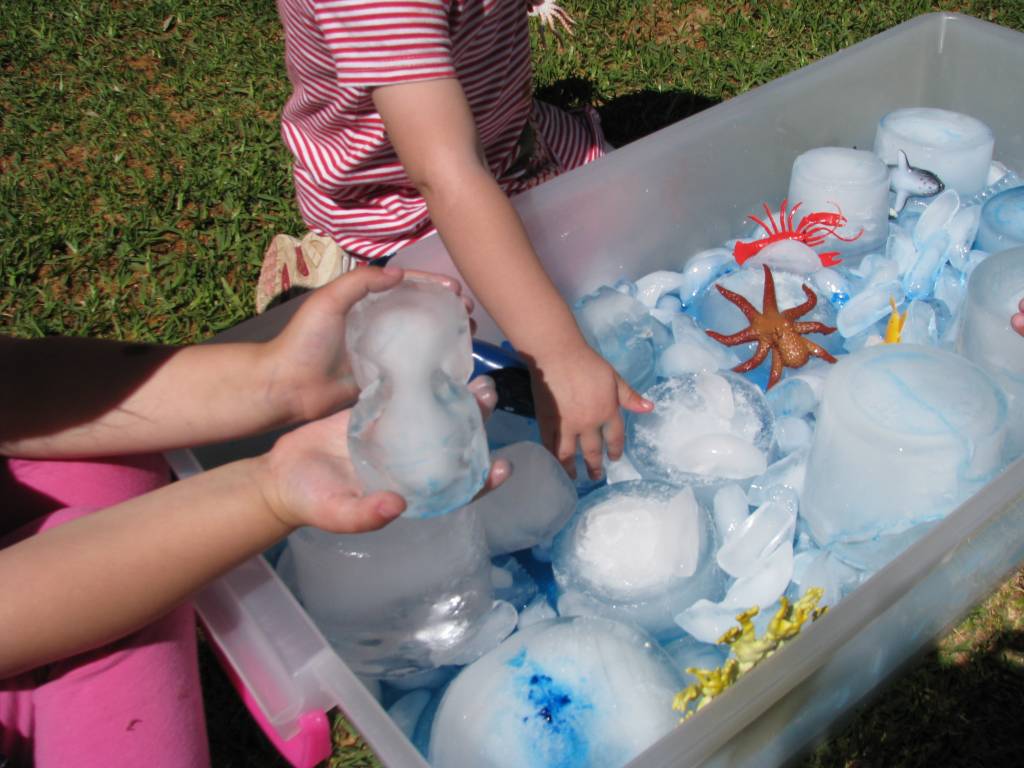
Image Credit: https://www.learning4kids.net/wp-content/uploads/2012/10/Sensory-Play-Ice-World-3.jpg
Materials: Water, Ice Tray, Toys, Freezer, Curious Children
Your children are too young for excavation adventure? Worry not, you can DIY your adventure, here’s how!
Buy some new small toys that will excite your children and get a big-sized ice tray. Now, make sure you clean the toys before doing this experiment. And to guarantee the excitement of your children, prepare this on your own! Put the toy in the ice tray, pour some water on it and freeze it for 1 day!
Call your children to the kitchen with an excavating suit (if you have one) and give them a harmless tool to dig up the ice cubes. Maybe, you could ask them to predict what is the object inside the ice and what is the fastest way to melt the ice other than digging it? Learning hot and cold with a fun science experiment, say hello to that!


